

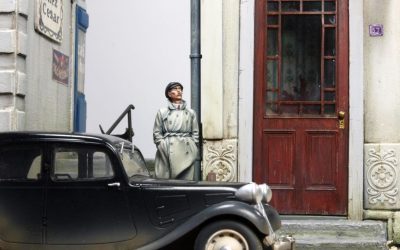
I actually managed to finish this project during the holiday season. For some obscure reason I was a bit frightened to get started with the groundwork. The Fieseler Storch was ready for a while, although I still had to attach a number of parts that were left off, or had broken off, during previous weathering and painting steps, and I didn´t want to attatch them until the aircraft was about to be fixed to the groundwork.
In hindsight I decided to use only a part of the Storch’s left wing,. Seemed better to me that way. Here’s a peek at the completed diorama, and more pics are available in my Gallery

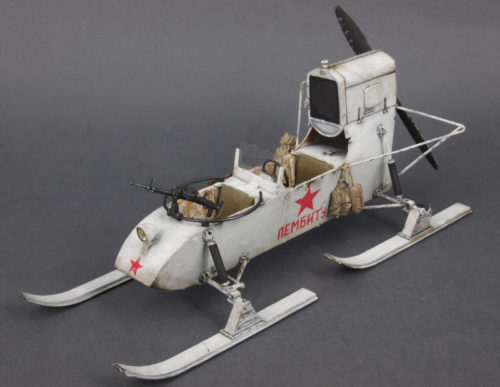
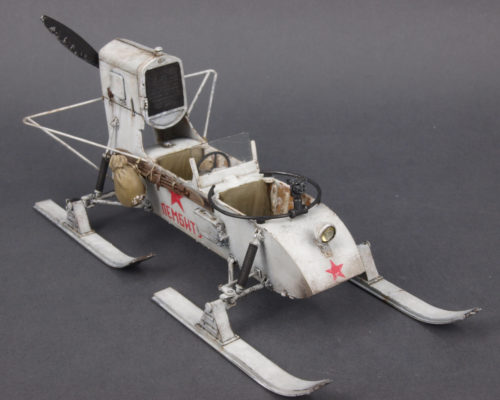
The Aerosan went through some serious weathering. Looking at earlier pics I decided it was too boring and too clean, and that I should take it a few steps further.
So, here´s a shot of the almost finished Aerosan. Almost? Yes, indeed. When I was in the process of making the protective acrylic cover for my diorama I realized that the windscreen of the Aerosan was much too clean, so that was fixed after all the photo’s were taken. Well, you know what they say: I know it’s there 🙂
For those interested in making the groundwork, I have added some snapshots I made during the process.
I found a too large gap between the ground and the botton of the aircraft, so I filled up the space with some cork strips and covered that with more wall filler. Why not just wall filler and no cork strips? A thick layer takes too long to dry and will certainly crack.


The next step was making traces of where the aircraft hit the ground, disturbing the smooth top layer of the snow. I used cling film to prevent the model being covered with wall filler.


I used a mix of various brands of artificial snow, as well as some extremely fine aquatic sand that was absolutely white. You can also use white wall filler instead of that sand, but white wall filler tends to turn yellow over time. Same goes for other natural products like baking soda, reason I never use it. Anyway, the white sand came in handy as I didn’t need to colour it. It also has substantial volume, something the artificial snow lacks. I added water and plenty of white glue to make a nice white paste and covered the base again, with a thin layer of the mix.

After the mixture was set, I sprayed white glue, thinned with water and a drop or two of dishwashing detergent over the whole base and sprinkled an even finer artificial snow with a sieve over the whole surface. The snow I used for this last step is by Techstar, a former VLS brand which is no longer available, I believe, and an extremely fine product from Scenery Workshop, which is in fact very fine glass. So, be careful when using such products, and wear a dust mask when applying it, as it is dusty a h#ll.

The aircraft, Aerosan, figures and the trees are all fixed to the base using two component epoxy glue, the rapid drying, 2-minutes, version.


The trees were the last elements to be attached to the base, in order to have better acces to everything that was already attached. I always need to touch up things during the final process, so leaving the trees for last seemed logical. For the snow on the trees I sprayed them from the top with 3M Photomount and sprinkled the Techstar and Scenery Workshop powders over them, and repeated the process until I was happy with the results.
On to the next project that has been lying idle for too long as well.


0 Comments